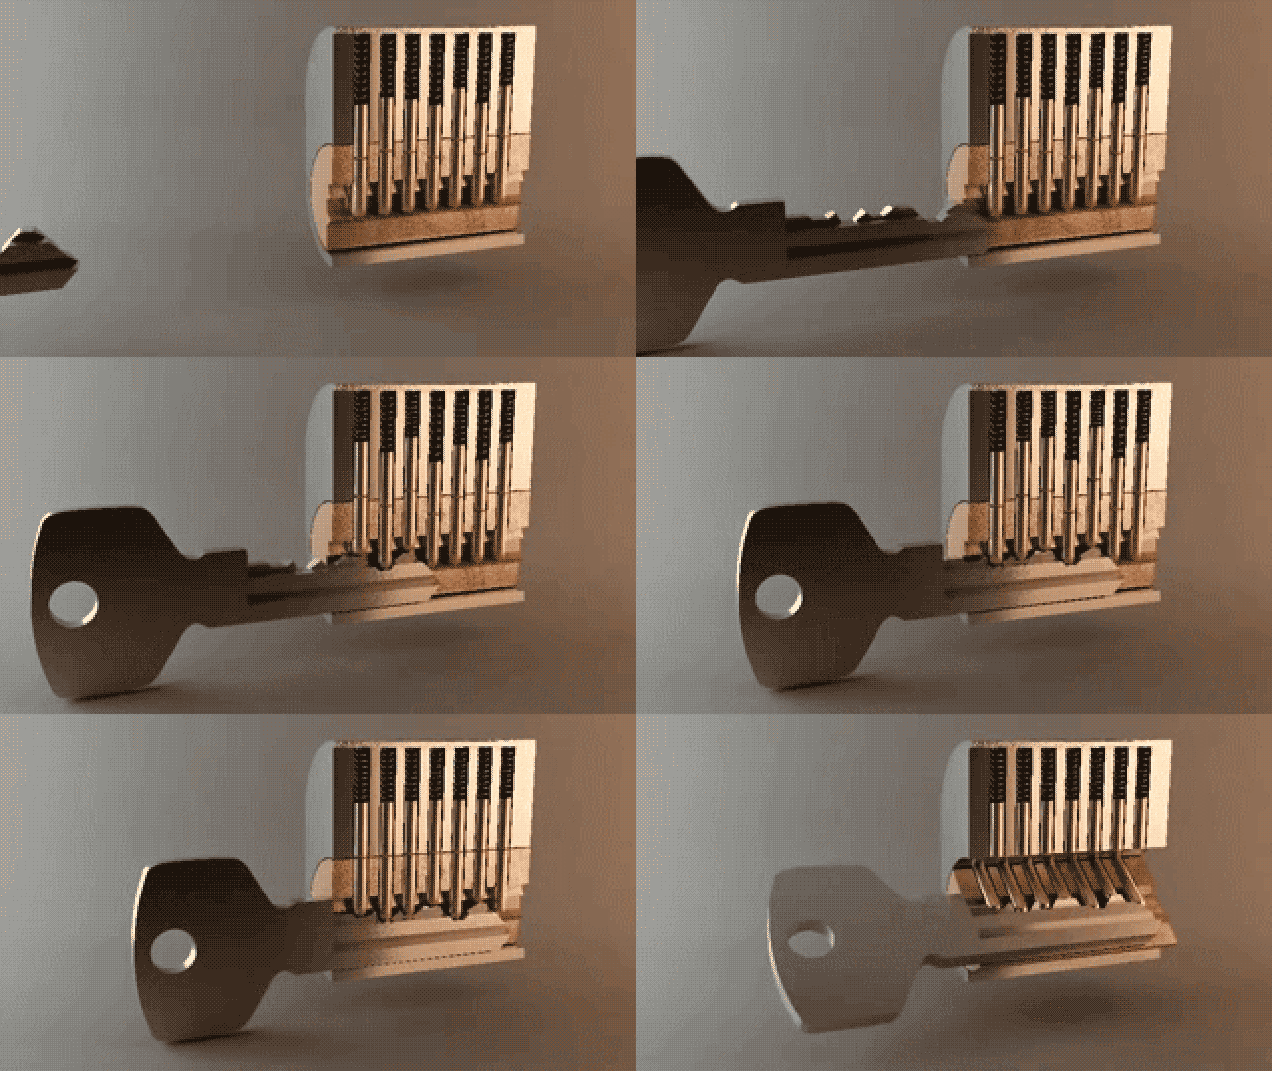
I f you ever click on those articles that boast something like the “Top 23 Most Fascinating Gifs!” you’ve probably seen the one where it shows the inner workings of a lock. Maybe it’s just me, but I can watch the gif repeatedly because it’s just so dang satisfying to watch those pins pop into place and to see the lock make that smooth turn.
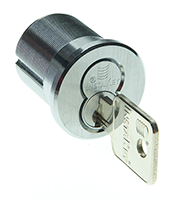
Let me tell you, it’s just as satisfying to see a core pinned in real life and then getting that sweet, sweet payoff of a lock that works. Back in June, I got to take a little field trip over to LockNet’s warehouse to watch cores being pinned. Once I returned, I googled terms like “how to pin a core” and couldn’t really find anything on the subject. I was shocked.
IC Core – Terminology
First, let’s start with the basic terminology. You have your chambers, which are the slots that the pins slide into. You also have your pins, which are exactly what they sound like – tiny pins that come in various sizes. When pinning a core, different size pins coincide with different combinations that, when the correct key is inserted, creates a sheer line that allows you to turn the key, thus opening the lock.
To pin a core, you don’t just get to choose a random selection of pins for the chambers. Pin placement is based on the cuts of the key. You’ll use a pinning chart that’s been generated by key system software; each pin has a number that corresponds with the information generated. In turn, the pin numbers must add up to 23 in each chamber. You’ll also receive a pinning kit which you will use to pin your core.
It’s helpful to have a pair of tweezers handy since those tiny pins can be a little hard to hold on to. The Key Core Production department at LockNet also uses a block to hold the core steady as you drop the pins in.
IC Core – Pinning: Step By Step
Once you have your pinning chart, you’ll refer to it in order to know which pins go where. You’ll place the pins in their correct chambers and then drop springs on top of those. Finally, you’ll secure the “top cap” that keeps the pins in their coinciding slots.
Once you cut your key, make sure you test out your lock because I’m willing to bet that there isn’t anything much more frustrating than spending time pinning a core only to find out you put an incorrect pin into a slot causing your key not to work (trust me – it happens).
If you ever get the chance, I suggest you take the opportunity to really see how a lock is pinned. Sure, it sounds dry and boring but it’s always nice to know how the mechanics of hardware actually works!


I prefer to think IC means interchangeable core. There for it would be an IC Cylinder. Otherwise I believe you are saying interchangeable core core.
*therefore
Q: What determines to choose for 6PIN or 7PIN IC core cylinder? Does it depend upon the door? Please enlighten me. Thanks!
Hi, Matt! The amount of pins in the core cylinder depend on the level of security you’re looking for. A core with seven pins is going to be harder to manipulate than a core with six pins.